_MEB.png?width=842&height=596&name=RP_HorizontalColour(R)_MEB.png "Rocky Point Logo_Green-transparent")

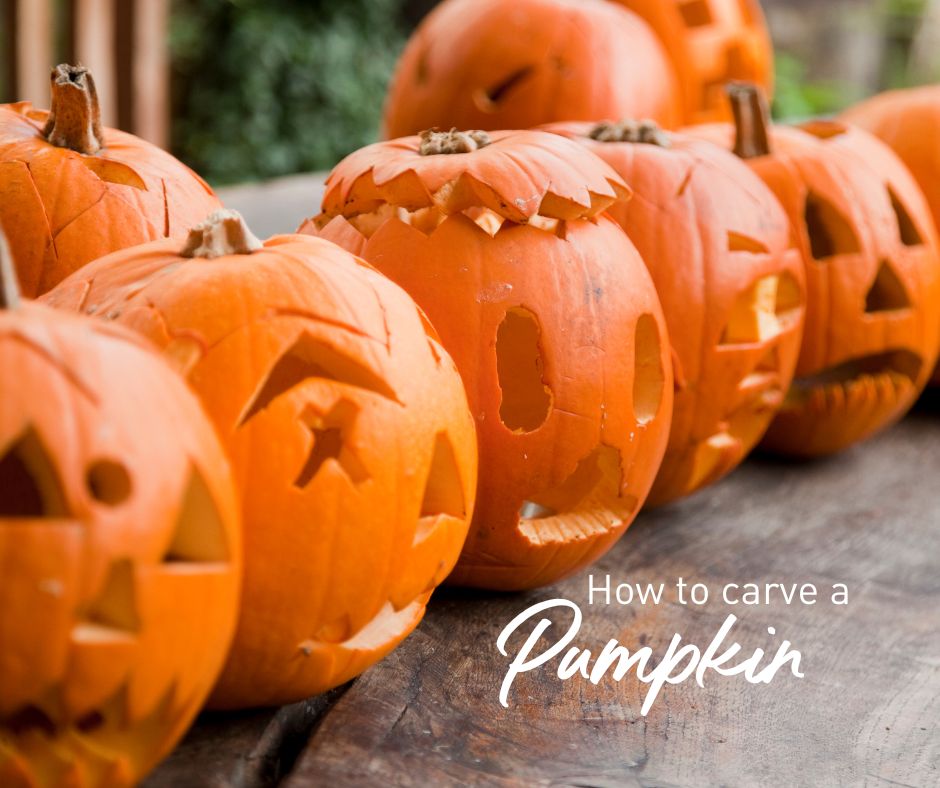
Want something fun to do with the kids? We decided to do something different this weekend and carve up some pumpkins. We even had the kids jump in on it. We know traditionally this is an American celebration but the arts and crafts side are still fun for those who just want to do something different. AND you can teach kids how to compost as a BONUS. Here’s how we did it!
What you need to carve a pumpkin:
- Large pumpkin (from the garden or the store)
- Sharp knife
- Metal fork
- Metal Spoon
- Pen or pencil
- Cutting board
- A bowl for your scraps
- A wet cloth
- Candle (optional)

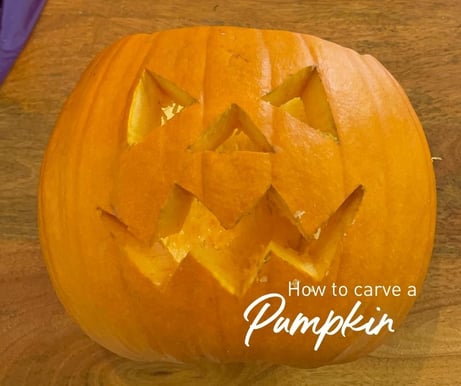
Steps to carving your pumpkin
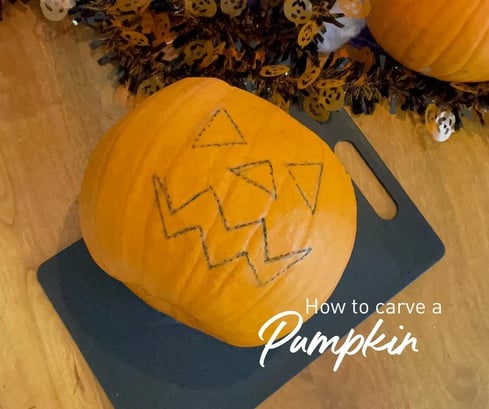
- Mark up your top- Grab your pumpkin and a pencil or pen, we tried a permanent marker and it left quite the mark so would go with something that wipes off easily. You are going to draw circle at the top to make the “hat” of the pumpkin. Don’t go too far down you should see the top layer of the pumpkin when you cut.
- Empty the pumpkin (a job for the kids) - Get your bowl for scraps and a knife. Using a knife, cut out the inside of the pumpkin, then with your hands pull all the pumpkin seeds out. You may need a spoon to scrape the sides. You want this as clean as possible.
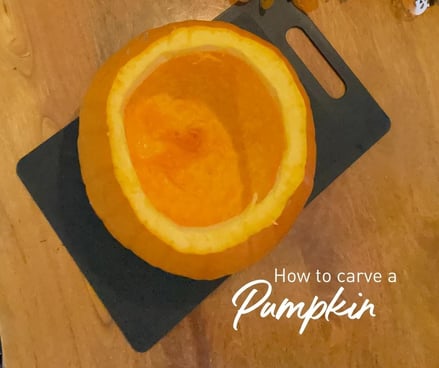
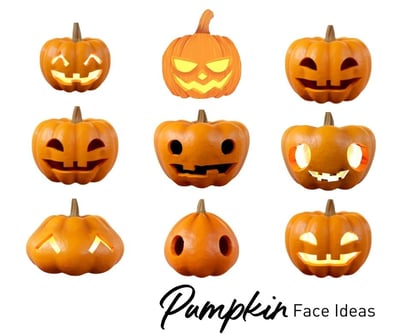
Better Earth tip - Save the scraps for compost - Marking the face outline (a job for the kids) – There are so many fun faces you can make. Below are just some of the examples. We went with a simple and easy to cut outline and drew it on to the pumpkin. You may need a couple of goes at this so use a pen that you can easily wipe off.
- Cutting out the face – Now for the tricky part, we used a fork (make sure it’s strong) to poke holes into the pumpkin and mark up the lines we drew. This is just to make it easier for the knife to cut in. Once you have used the fork on all shapes (it takes a bit of muscle), follow through with the knife making sure you have cut everything.
- The reveal (a job for the kids) - Pop out the pieces and clean up with a wipe. If you still have pen marks on the cut-outs, use the knife to clean it up. Clean out the inside. Place a candle in the inside and light it up at night.
 Storage Tip –Store in fridge if you want to keep it for more then a week or if weather is extremely hot. If you put it outside, you can spray with vinegar to keep the bugs away.
Send us photos of your pumpkin carvings – keepgrowing@rockypoint.com.au or tag us on @rockypointau on your socials. Have fun!